Sunday, 16 July 2017

Fabric Apples

Found a free pattern for making fabric apples on Pinterest and had a very fun time making them! :)

These are Country Cottage inspired apples!


 These are Victorian inspired and I think they came out quite nice!

These apples can be used as pincushions or decorations.  
Happy Crafting Everyone! :D


Thursday, 13 July 2017

Inspired by Marie Antoinette


Found this lovely picture of Marie Antoinette on Pinterest (it's in my Printing Ideas Board).  Also, happened to watch a documentary on the lady. 

Inspired to make a book box and an altered spoon.  I think they both came out quite nice! :)


Happy Crafting Everyone! :D

Tutorial 2 - Easy to make 3-fold bag

Today's easy tutorial is for a 3-fold small bag. 

1)  Prepare the fabric, length is 3 times the width. Mine is 12x36 inches.
                                     

2) Fold the fabric into 3 equal sections and mark out points A and B.

3)Sew with 1/2 inch seam allowance.


4) After completing the 2 seams, turn the bag over and tie a knot.


Hope you like this simple bag project! :)

Sunday, 9 July 2017

Handmade Toys

Recently made several toys for my girls. These were great projects that involved them and we had a lot of fun too! :D

These 2 doll wall hangings were inspired by the Chinese Moon Goddess, Chang Er, and her pet rabbit. However, I couldn't find any bunnies so replace them with cute teddies instead! :)


I think these little Swiss Roll Cake Dollies also came out quite nice. :)


Happy Crafting Everyone! :)

Tutorial 1 - Easy To Make Fabric Tray


.
This is a very easy to make square fabric tray.  In this example. I am using 8x8 inches fabric squares (my sewing rulers are in inches),

Step 1:
Layer 1 pc of felt (or fleece) in between 2 pcs of fabric and sew together (on wrong side of the fabric) with 1/4" seam allowance. Remember to leave a small opening for turning over to the right side (of the fabric). Iron the fabric block flat. Top stitch 1/4" all around the block.

Step 2:
Mark the corners and points (to desired width) and sew points together (See picture below, points 1 to 3). 

Step 3:
Decorate or embellish, as desired. (See picture below, point 4)
.


Final Product! :).
.
Hope you enjoyed this project! Happy Crafting! :)


.

Sunday, 1 January 2017

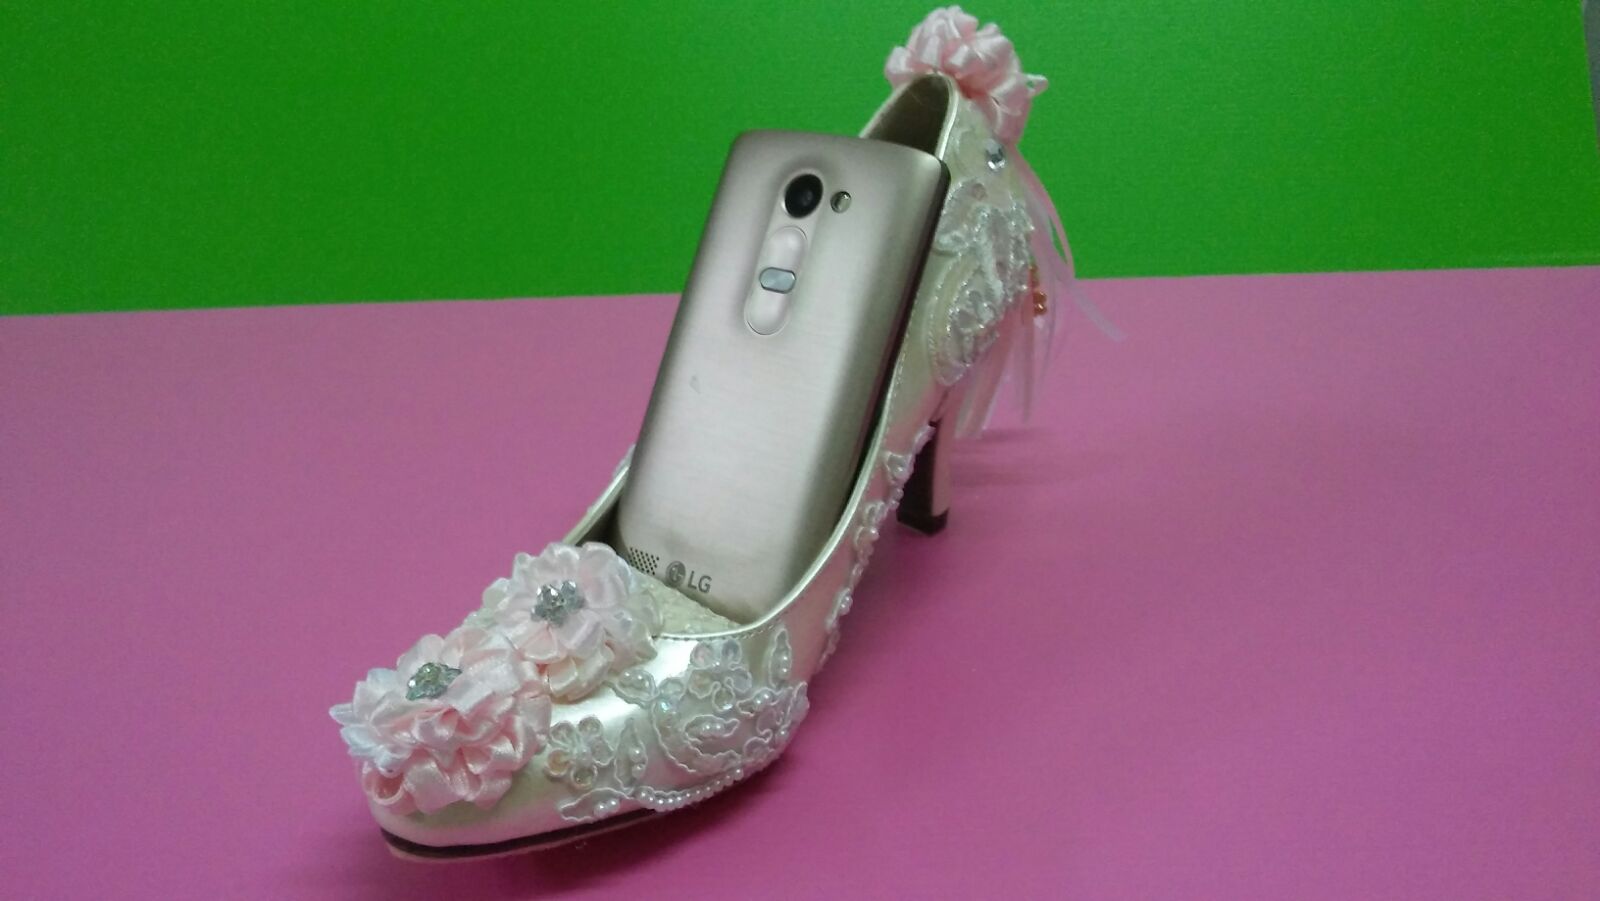
Handphone Holder

Bought a pair of heels (on sale) for my younger girl. But they were too tight and uncomfortable for her. As I couldn't return or exchange the shoes, I had no choice but to make something with them.


Took one and decorated it with some laces, ribbons and handmade flowers.  It turned out very nice and now it is also my new handphone holder! :)

Sunday, 16 October 2016

Altered Shoe Boxes

The girls got new shoes and I ended up with the shoe boxes which were quite sturdy. So I decided to see what I could do with them.

At first, I just wrapped with wrapping paper but was not very happy with the results so I tried something else.

Much better! Now they are pretty sewing baskets. Very happy with this result! :)

Had a smaller box and made it into a tissue box holder. It turned out quite nice. :)

Happy Crafting Everyone and have a Wonderful Week ahead! :D